The Kerbside Evidence Kit: Building a Pothole Damage Case Without Guesswork
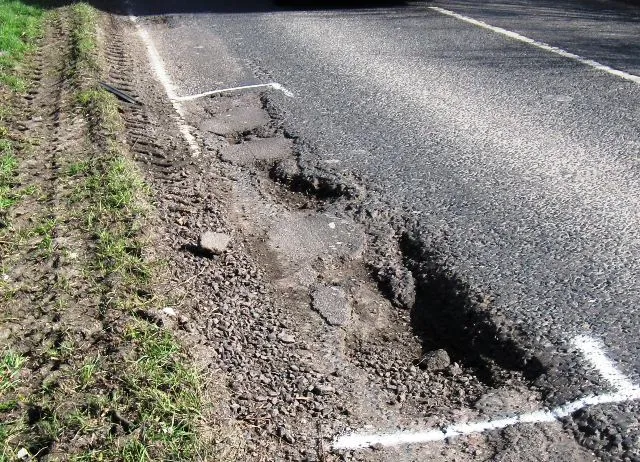
Photo: Chris Reynolds, CC BY-SA 2.0, via Wikimedia Commons
Safety first, evidence second
A pothole claim starts at the kerb, not at the keyboard. If you have just hit something, resist the urge to jump out in traffic. Pull over somewhere legal and safe, switch on your hazard lights, and put on a high-vis if you keep one in the boot. On a fast road, stay in the car and call for help; no photo is worth standing in a live lane.
Once you are clear of moving traffic, give the wheel and tyre a quick visual check before you move again. A pothole can bruise a sidewall without deflating the tyre immediately, and a broken drain cover can crack an alloy in a way you will not feel until the next bend.
The five-minute kerbside evidence kit
You do not need a forensic studio. A phone, a ruler or coin for scale, and a notebook app will do. The trick is to capture three things: the defect, the location, and the damage.
1. Photograph the defect in context
Take a wide shot showing the pothole or broken cover in the road, with the kerb, road markings and a landmark in frame. Then take a second shot from a different angle. If it is safe, include your vehicle in the shot so the position is obvious. Do not stand in the carriageway to get the perfect angle.
2. Add scale and detail
Place a ruler, a coin or your foot alongside the defect and photograph it close up. Record an approximate depth and width. For raised ironwork, photograph how far it sits above the road surface. A photo with no scale is a photo the council can argue about.
3. Capture the location
Photograph the road name sign, a nearby house number or a shop front. Save a map pin on your phone and note the coordinates. Write down the road name, direction of travel, lane position and the time. If there is a streetlight number or council marker, include it.
4. Document the damage
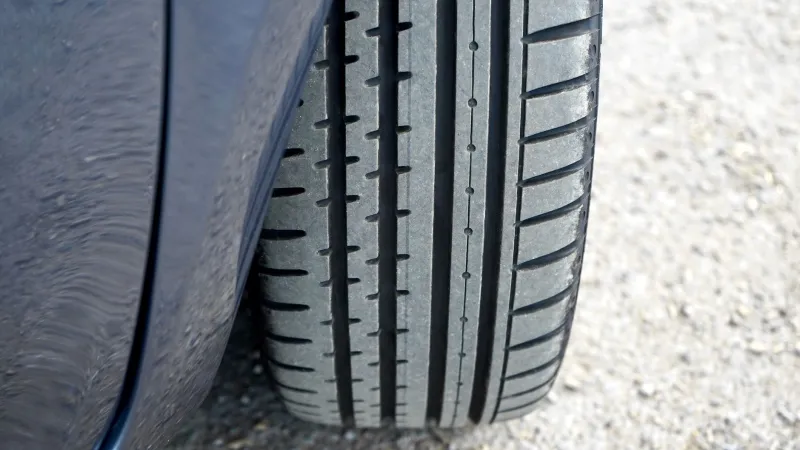
Photograph the damaged wheel and tyre before you clean it. Capture the sidewall, tread and alloy face. If there is a bulge, cut, cracked spoke or missing chunk, get a close-up and a wider shot. Photograph the tyre pressure reading if your car displays it. Keep any dashcam footage and note the time stamp.
5. Build a paper trail
Report the defect to the highways authority the same day and save the reference number. Keep receipts for recovery, tyres, wheels and alignment. Get two written quotes for repairs if you are claiming. Note any related symptoms, such as pulling to one side or vibration, and when they started.
Inspect the tyre without guessing
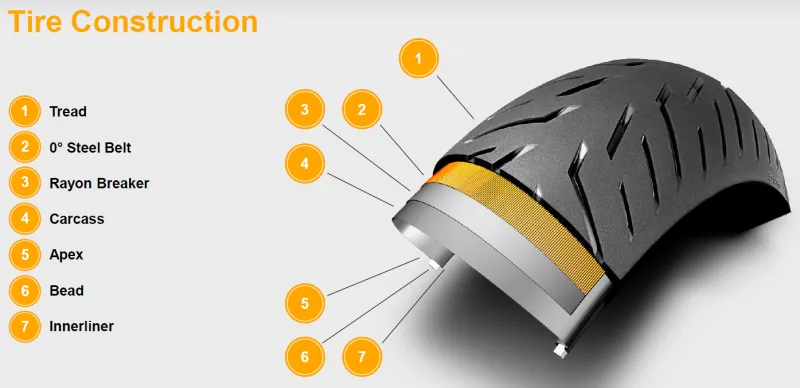
Look for a sidewall bulge, which is a sign of internal cord damage. Check for cuts, tears, exposed cords and objects trapped between the tyre and rim. Run a hand lightly around the tread and sidewall, but keep fingers clear of sharp metal. If the tyre is visibly soft, do not drive on it. A cracked alloy, a buckled rim or a tyre that has lost pressure quickly is a recovery job, not a slow crawl to the garage.
When to stop driving
Stop and call for help if you see a bulge, exposed cords, a split sidewall, a cracked wheel, rapid pressure loss or heavy steering vibration. A space-saver spare is for low-speed emergency use only, and only if your car has one and you can fit it safely. If in doubt, use your breakdown cover.
The bottom line
The best claim is boring: safe photos, clear location, dated report and receipts. Do that, and you give yourself a fair shot without turning a kerbside knock into a roadside argument.